Project 300ZX [10] - Steering wheel
So finally my new leather steering wheel cover arrived in an envelope from Poland (purchased from redlinegoods.com). They took 6 days to ship after I ordered, and then snail-mail took another 20 days so I was kind of eager to install the thing. Now, once you get the cover, you can have it professionally installed for around $100 but a) you have to search for a shop to do it and wait for them, b) it's not pocket change, and c) what would be the fun in that?
So, again, armed with utter ignorance but a lot of motivation, I set out for the task. I read the provider's writeups, watched the 5 youtube videos on how to do it, and off we go.
To be able to comfortably install the leather cover, you need to take the wheel off of the car. It is said that the recommended way to remove a steering wheel is with a special tool called, creatively "steering wheel puller" because banging on the thing for the toothed ring to disengage from the steering column's gear can damage the rack, joints and whatnot. Wheels basically have a pair of standard-spaced holes where you insert the contraption and start turning a center threaded stud that pushes on the steering column. I said fuck it and decided to do it the neanderthal way. Or at least try. Wheel pulling mechanism, check!
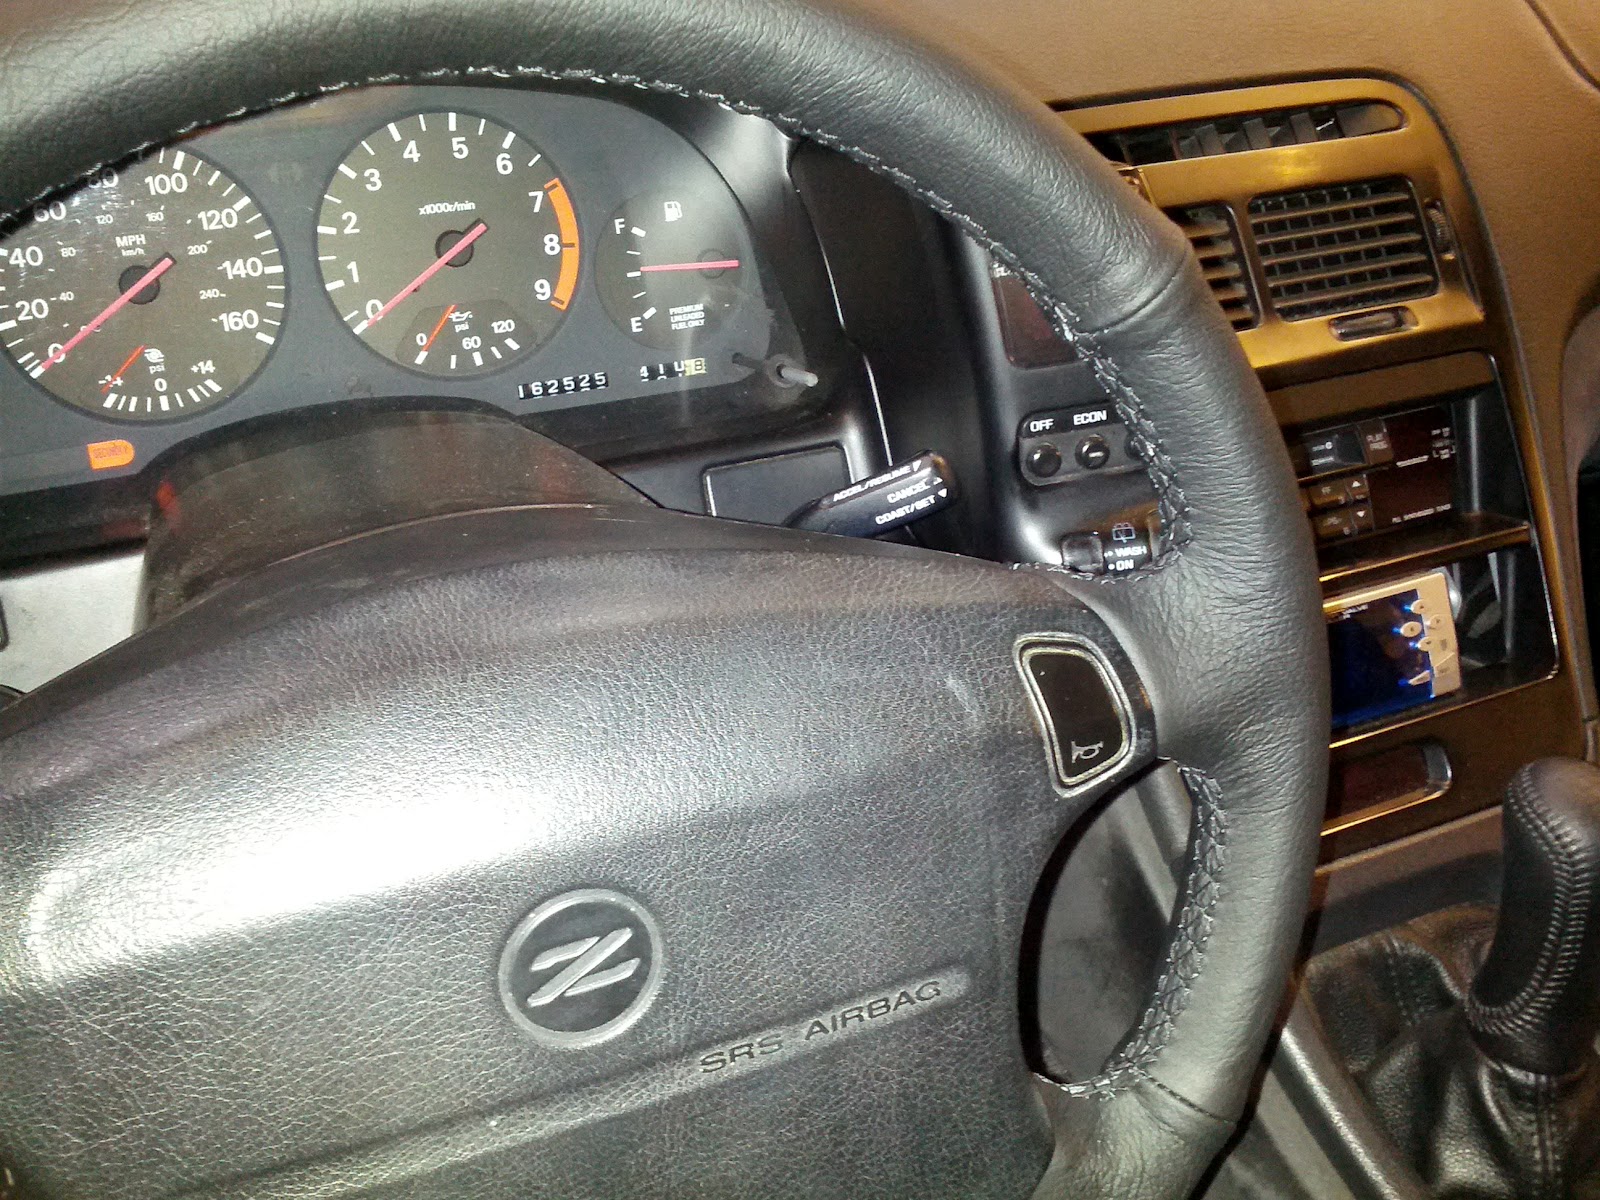
The steering wheel in this car, as is the case with all cars nowadays, has an example of that wonderful thing called an SRS, a.k.a airbag (secondary restrain system, as in secondary to the seatbelt without which the airbag is useless, even dangerous). While investigating, I found out that airbags are a serious business, because of two main reasons: it's a freaking explosive device so you want to be careful, and also there are laws and regulations and car makers don't want to get sued if the airbag doesn't deploy during a crash, or if it deploys when it doesn't need to. It's also illegal in some places to remove the airbag from your car. All this boils down to a couple considerations. First, to remove the airbag you need what is called a "security torx" bit, or "tamper-proof torx", "security-star" or some other shit. Second, you need to handle it with care, including disconnecting all sources of electricity to prevent accidental deployment. More on that later. What security torx is basically is a regular torx nut but with a center stud so your bit has to have a hole in the center for that stud to go in. I had to guess the size because no one said it anywhere that I could find, but here it is for anyone seeking advice: it's a T50 size. Not easy to find. I had to shell around $26 for a Kobalt brand set (somewhat expensive brand, but they have a huge selection of different tools and are carried by Lowe's I think exclusively). Some guy said it was possible to break that center stud in order to be able to use a regular torx bit but I decided not to go that route. I didin't have a regular T50 bit anyway. Airbag-removing bit, check!
That's it. On to the next step.

First thing is to remove power. I don't want my pretty face ruined by a rogue exploding airbag. So I went and disconnected the negative terminal on the battery (which by the way I had replaced just the day before when the old one died on me), and waited for some minutes to be sure any remaining juice was drained.
To either side of the wheel's plastic trim behind the rim, there are removable covers that hide the security torx nuts. They had some blue stains which I recognized from the gearshift knob: that blue loctite thing to ensure things don't get unscrewed. So I knew I would need some serious torque to break that bloody thing. Torque that I feared I wouldn't be able to apply because even though the T50 bit has a big 3/8" drive, I only have a 1/4" ratchet (that $11 set I bought for removing the front bumper) and was using a 1/4"-to-3/8" adapter. So after my first try I stopped, fearing that I would break the ratcheting mechanism of my puny tool. Luckily the extension piece I have has some grooves cut in it so I was able to get my... (don't know the English name for it, the tool that clamps into nuts or bolts that's frequently used for plumbing work; "cayman" in Spanish), well I used that thingy to add torque, basically using the ratchet in conjunction with it and after some fart-inducing effort I was able to break the damn thing. The glue, I mean, so I could unscrew the nut. Oh, sweet success!
The picture to the right shows the car with the steering wheel removed. That yellow thing is what carries the cables for the horn and the airbag. Initially I thought it would internally have a set of concentric metal rings with metallic brushes rubbing against it to transmit the power from the stationary car to the rotating wheel. Duh! While that would probably be fine for the horn, it's not 100% reliable for an airbag I guess, so what it has is a "clock spring" mechanism that, while not supporting infinite turns, allows around 2.5 full turns and that's all that's needed anyway because that's how much a steering wheel turns lock-to-lock (most of them anyway). Note to self: be sure to center it correctly when reinstalling the wheel, otherwise you could strain/damage the clock spring mechanism by having it excessively wind or unwind in one direction.
After undoing the electrical connections (the yellow plugs in the photo showing the backside of the airbag), we had that out of the way.
Next was removing the wheel rim. A 19mm center nut had to be removed and after that, I gave the wheel two soft bumps, above and below, and then started pulling, wiggling the thing. Surprisingly, it came off pretty easily (it had been sitting there for 18 years, after all, so I had my wd-40 ready just in case).
This is how the removed wheel looks from the back:

The following pics show various stages of removing the old cover.


The old cover, removed.

The naked steering wheel.


That was easy. Now for the challenging part: installing the new cover.

It came with enough thread to sew 3 or more wheels, and a set of needles.
I will be very brief about the actual installation process (you can see the videos here for more detail).
First you need to present the cover and actually line it up with the spokes on the rim. Then carefully wiggle it into place so that everything matches where it should.
Next, you start stretching the leather to make the ends meet. Supposedly the leather is cut a little short so that it needs to be stretched and it ends up nice and tight around the rim. I had no trouble making the ends meet, though so either my wheel has thinned with age or WTF.


Next for the most important step, according to the videos: gluing the cover. I kind of confirmed that it was important, from what I can see of the final product. Well there's really not much to it, but you really want to avoid "balls" of glue forming up, which tends to happen as you spread the glue onto the foam surface of the rim. Also you want to make sure that the portions of the cover that go over the spokes are very well glued otherwise the cover can separate afterwards, leaving a spongy feel when you grab them after installation. Damn, both things happened to me. Not that serious but still, annoying.
After gluing you need to start sewing. More like stitching, really. The cover comes with threads running all over the edges so you pass the thread through them and pull real tight to bring the edges together, following a certain pattern. You can use whatever pattern you like, but I followed the one they suggest in the video. More of an issue if you go for a contrasting color. Mine was black on black so anything looks fine.
Some pics of the process:


The finished product:


In general, I'm quite satisfied with the result. It feels very, very nice to drive the car with the new cover, nice and padded. Gone is that glossy finish the old cover had (not sure if it was always that way or if it tends to polish with time... you need to condition the leather regularly I guess).
The process took around 4 hours total and being the first time I've ever done it (removing an airbag, removing a steering wheel, and replacing the cover) I think it turned out pretty well. Not perfect, certainly not up to par with a professional installation, but the feeling of doing things yourself makes it so much more enjoyable when you look at it and use it.
So that's it for this post. See you!
 |
| The envelope says "synthetic leather samples, $0"... typical tricks to avoid import fees. A quick check confirms it's a nice, thick piece of leather baby! |
Step 0: Preparation
Prior to any action, you need to ensure you have the tools and materials for the job. To glue the leather to the steering wheel's high density foam you need what they describe as "your typical leather or shoemaker's glue" and that means a toluene-based glue. As it turns out, it's not easy to find. Presumably because of its use as a cheap, brain-melting inhaling drug, its use has decayed a lot. But I also blame this country's obsession with time. Nearly all glue options have big letters stating how instantly it bonds and zero wait time and stuff. There's no room for the classical "spread to both parts, wait for it to partially cure, then join, then wait some more" procedure of old. Still, after some time going through all options in Lowe's and Home Depot, I found one. I was even required to show id at the counter because of said brain-melting powers of the thing. Glue, check!To be able to comfortably install the leather cover, you need to take the wheel off of the car. It is said that the recommended way to remove a steering wheel is with a special tool called, creatively "steering wheel puller" because banging on the thing for the toothed ring to disengage from the steering column's gear can damage the rack, joints and whatnot. Wheels basically have a pair of standard-spaced holes where you insert the contraption and start turning a center threaded stud that pushes on the steering column. I said fuck it and decided to do it the neanderthal way. Or at least try. Wheel pulling mechanism, check!
 |
| The T50 is the largest on the left. |
That's it. On to the next step.
Step 1: Removing the steering wheel

First thing is to remove power. I don't want my pretty face ruined by a rogue exploding airbag. So I went and disconnected the negative terminal on the battery (which by the way I had replaced just the day before when the old one died on me), and waited for some minutes to be sure any remaining juice was drained.
To either side of the wheel's plastic trim behind the rim, there are removable covers that hide the security torx nuts. They had some blue stains which I recognized from the gearshift knob: that blue loctite thing to ensure things don't get unscrewed. So I knew I would need some serious torque to break that bloody thing. Torque that I feared I wouldn't be able to apply because even though the T50 bit has a big 3/8" drive, I only have a 1/4" ratchet (that $11 set I bought for removing the front bumper) and was using a 1/4"-to-3/8" adapter. So after my first try I stopped, fearing that I would break the ratcheting mechanism of my puny tool. Luckily the extension piece I have has some grooves cut in it so I was able to get my... (don't know the English name for it, the tool that clamps into nuts or bolts that's frequently used for plumbing work; "cayman" in Spanish), well I used that thingy to add torque, basically using the ratchet in conjunction with it and after some fart-inducing effort I was able to break the damn thing. The glue, I mean, so I could unscrew the nut. Oh, sweet success!
The picture to the right shows the car with the steering wheel removed. That yellow thing is what carries the cables for the horn and the airbag. Initially I thought it would internally have a set of concentric metal rings with metallic brushes rubbing against it to transmit the power from the stationary car to the rotating wheel. Duh! While that would probably be fine for the horn, it's not 100% reliable for an airbag I guess, so what it has is a "clock spring" mechanism that, while not supporting infinite turns, allows around 2.5 full turns and that's all that's needed anyway because that's how much a steering wheel turns lock-to-lock (most of them anyway). Note to self: be sure to center it correctly when reinstalling the wheel, otherwise you could strain/damage the clock spring mechanism by having it excessively wind or unwind in one direction.
 |
| The airbag/horn pad, dismounted. |
 |
| Underside of the pad. You don't want to store it this way! |
 |
| This says "store it with the pad up". Yes, if deployed, at least the whole thing won't be shot flying up into the air. |
After undoing the electrical connections (the yellow plugs in the photo showing the backside of the airbag), we had that out of the way.
Next was removing the wheel rim. A 19mm center nut had to be removed and after that, I gave the wheel two soft bumps, above and below, and then started pulling, wiggling the thing. Surprisingly, it came off pretty easily (it had been sitting there for 18 years, after all, so I had my wd-40 ready just in case).
This is how the removed wheel looks from the back:

Step 2: Removing old cover
Now to remove the old leather cover. It's just cutting the old stitching with an exacto knife. It was glued but it came off with little force. In case I seriously fucked it up with the new one, I'd say it's even possible to reinstall this one.The following pics show various stages of removing the old cover.


The old cover, removed.

The naked steering wheel.


That was easy. Now for the challenging part: installing the new cover.
Step 3: Installing the new cover
This is how the cover looks like, by the way:
It came with enough thread to sew 3 or more wheels, and a set of needles.
I will be very brief about the actual installation process (you can see the videos here for more detail).
First you need to present the cover and actually line it up with the spokes on the rim. Then carefully wiggle it into place so that everything matches where it should.
Next, you start stretching the leather to make the ends meet. Supposedly the leather is cut a little short so that it needs to be stretched and it ends up nice and tight around the rim. I had no trouble making the ends meet, though so either my wheel has thinned with age or WTF.


 |
| That bluish tone you see in the inner surface is an effect of the lighting I think. It looked gray to me. |
Next for the most important step, according to the videos: gluing the cover. I kind of confirmed that it was important, from what I can see of the final product. Well there's really not much to it, but you really want to avoid "balls" of glue forming up, which tends to happen as you spread the glue onto the foam surface of the rim. Also you want to make sure that the portions of the cover that go over the spokes are very well glued otherwise the cover can separate afterwards, leaving a spongy feel when you grab them after installation. Damn, both things happened to me. Not that serious but still, annoying.
After gluing you need to start sewing. More like stitching, really. The cover comes with threads running all over the edges so you pass the thread through them and pull real tight to bring the edges together, following a certain pattern. You can use whatever pattern you like, but I followed the one they suggest in the video. More of an issue if you go for a contrasting color. Mine was black on black so anything looks fine.
Some pics of the process:


 |
| You can barely see a small protuberance on the lower section in this pic. A glue ball. Damn! |

Step 4: Reinstalling the wheel
Not much to this step, but reversing the order. You need to make sure the wheels are pointing straight ahead so that the steering wheel is aligned. That can be tricky but I got it reasonably right on the first try. The clock spring thing is also something you need to double check. Install trim pieces, reinstall the airbag, tighten those security bolts, reconnect cables, reconnect the battery.The finished product:


 |
| Those glue balls again. Arghhh! |

 |
| Looks worse than it really is... the flash enhances some color differences. |

In general, I'm quite satisfied with the result. It feels very, very nice to drive the car with the new cover, nice and padded. Gone is that glossy finish the old cover had (not sure if it was always that way or if it tends to polish with time... you need to condition the leather regularly I guess).
The process took around 4 hours total and being the first time I've ever done it (removing an airbag, removing a steering wheel, and replacing the cover) I think it turned out pretty well. Not perfect, certainly not up to par with a professional installation, but the feeling of doing things yourself makes it so much more enjoyable when you look at it and use it.
So that's it for this post. See you!


Comments
Post a Comment